| Print Tab | |
|---|---|
|
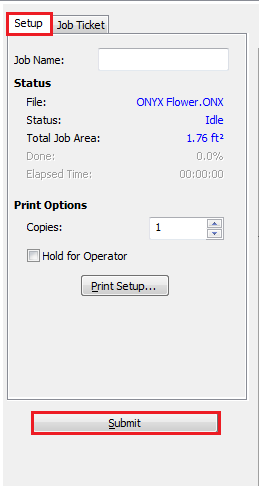
There are [Setup] and [Job Ticket] tabs in the [Print] tab. Use both tabs to set the print options and then submits the job for printing.
You can set any of the following options (Figure 1):
Type your job name on this field.
The [Status] area of the [Print] tab shows the file name, current status, job area, percent done, and the elapsed time.
The [Copies] value determines how many copies of the job will be printed. If you are printing a PostScript and PDF image, and want to have the number of copies determined by the PostScript and PDF files, select [Auto] as the copies value.
Checking the [Hold for Operator] box will put a hold on the job until it is manually released for printing in RIP-Queue. You can release the hold by clicking the [Hold] button in RIP-Queue.
Click [Print Setup…] to modify job settings in the following categories:
See Process & Print Setup for more information.
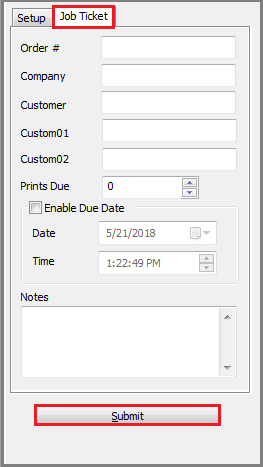
The [Job Ticket] tab allows you to record information such as Order number, Company and Customer name, Prints Due, Due Date, and any other notes associated with the job (Figure 2).
(NOTE: Both of these can be populated from an MIS / Business system using ONYX Connect.)
From the [Print] tab, click [Submit] button to send a job to RIP-Queue. You can also click the [Submit] icon on the Toolbar to submit a job. |
Figure 1
Figure 2 |